

TL;DR — To clean a countertop ice maker, unplug it, drain the water, run a cycle of half white vinegar and half water, scrub the crevices, then rinse with two or three cycles of plain water and dry it with the lid open. Do this every 3 to 6 months on normal water, or every 6 to 8 weeks if your tap water is hard. That’s the whole job. The rest of this guide is the stuff that actually keeps your ice tasting clean — the difference between descaling and sanitizing, why vinegar isn’t always the best pick, and the one mistake that quietly ruins these machines.
Last updated: September 2026.
If you own a countertop ice maker and you’ve never cleaned it, I have bad news and good news. The bad news is that the inside is almost certainly grimier than you think — these machines are warm, wet, and dark, which is a spa day for mold and mineral scale. The good news is that learning how to clean a countertop ice maker takes about ten minutes of hands-on effort, costs roughly nothing, and makes a real difference to how your ice tastes and how long the machine lasts. I’ve pulled together the manufacturer instructions, the appliance-repair consensus, and the mistakes I see people make, so you can do this once and do it right.
How we assess: our cleaning steps are built from manufacturer manuals and appliance-care sources, cross-checked and written plainly — never padded. See our How We Review page for the full method.
Key takeaways
- Descaling and sanitizing are two different jobs. Vinegar or citric acid removes mineral scale; a food-safe sanitizer kills mold and bacteria. You want both.
- A 1:1 vinegar-to-water mix is the standard cleaning solution; a lighter 1:10 mix works for routine maintenance and final rinses.
- Rinse more than you think. Run at least two or three plain-water cycles and toss the first batch or two of ice, or everything tastes like salad dressing.
- Water quality matters more than schedule. Hard tap water can mean cleaning every 2 to 3 weeks; filtered water can stretch it to months.
- Read your manual before you reach for bleach. Some machines should never get bleach in the reservoir, and bleach can damage stainless components.
What cleaning a countertop ice maker actually means
Most people lump it into one word — “cleaning” — but there are really two separate problems happening inside your machine, and they need two different fixes.
The first is scale. Every time water freezes and the leftover melts, it leaves behind dissolved minerals — calcium and magnesium, mostly. Over weeks that builds into a chalky, cloudy film on the reservoir, the tubing, and the freezing element. Scale makes ice cloudy, slows production, and eventually chokes the machine. You remove it by descaling: running an acidic solution (white vinegar or citric acid) through the system to dissolve the mineral buildup.
The second is biological. Warm, standing water grows mold and bacteria — that pink or black slime you sometimes find around the water line. Descaling with acid doesn’t reliably kill that. For it, you need to sanitize: a food-safe disinfecting step that wipes out the living stuff. A proper clean does both, in order — descale first to strip the scale, then sanitize the bare surfaces.
Miss this distinction and you’ll do half the job. Plenty of people descale religiously and never sanitize, then wonder why their “clean” machine still makes ice that smells faintly off.
Who needs to do this — and how often
Everyone with a countertop ice maker needs to clean it. The only question is how often, and that comes down to two things: how much you use it, and what your water is like. If you run the machine daily and fill it with hard tap water, you’re on the aggressive end of the schedule. If you use it occasionally with filtered or distilled water, you can relax.
Here’s the honest schedule, pulled from manufacturer guidance and adjusted for real life.
| Task | Hard water (>10 gpg) | Normal / soft water |
|---|---|---|
| Wipe reservoir & empty leftover water | Weekly | Weekly |
| Full descale (vinegar/citric acid) | Every 2–3 weeks | Every 2–4 months |
| Sanitize surfaces | With each descale | Every 3–6 months |
| Deep clean (empty, dry, air out) | Monthly | Every 3–6 months |
What you’ll need
Nothing exotic. Most of this is already in your kitchen:
- Distilled white vinegar — the workhorse descaler.
- Filtered or distilled water — for the solution and the rinses.
- A soft microfiber cloth — no abrasive scrubbers, ever.
- A small brush or an old toothbrush — for the corners and the water line.
- Mild dish soap — for removable parts like the ice basket and scoop.
- Optional: citric acid powder or the manufacturer’s cleaner — better for heavy scale (more on that below).
What you should not grab by reflex is bleach. It has a place — treating active mold — but it is not your default cleaner, and I’ll explain why in the contrarian section.
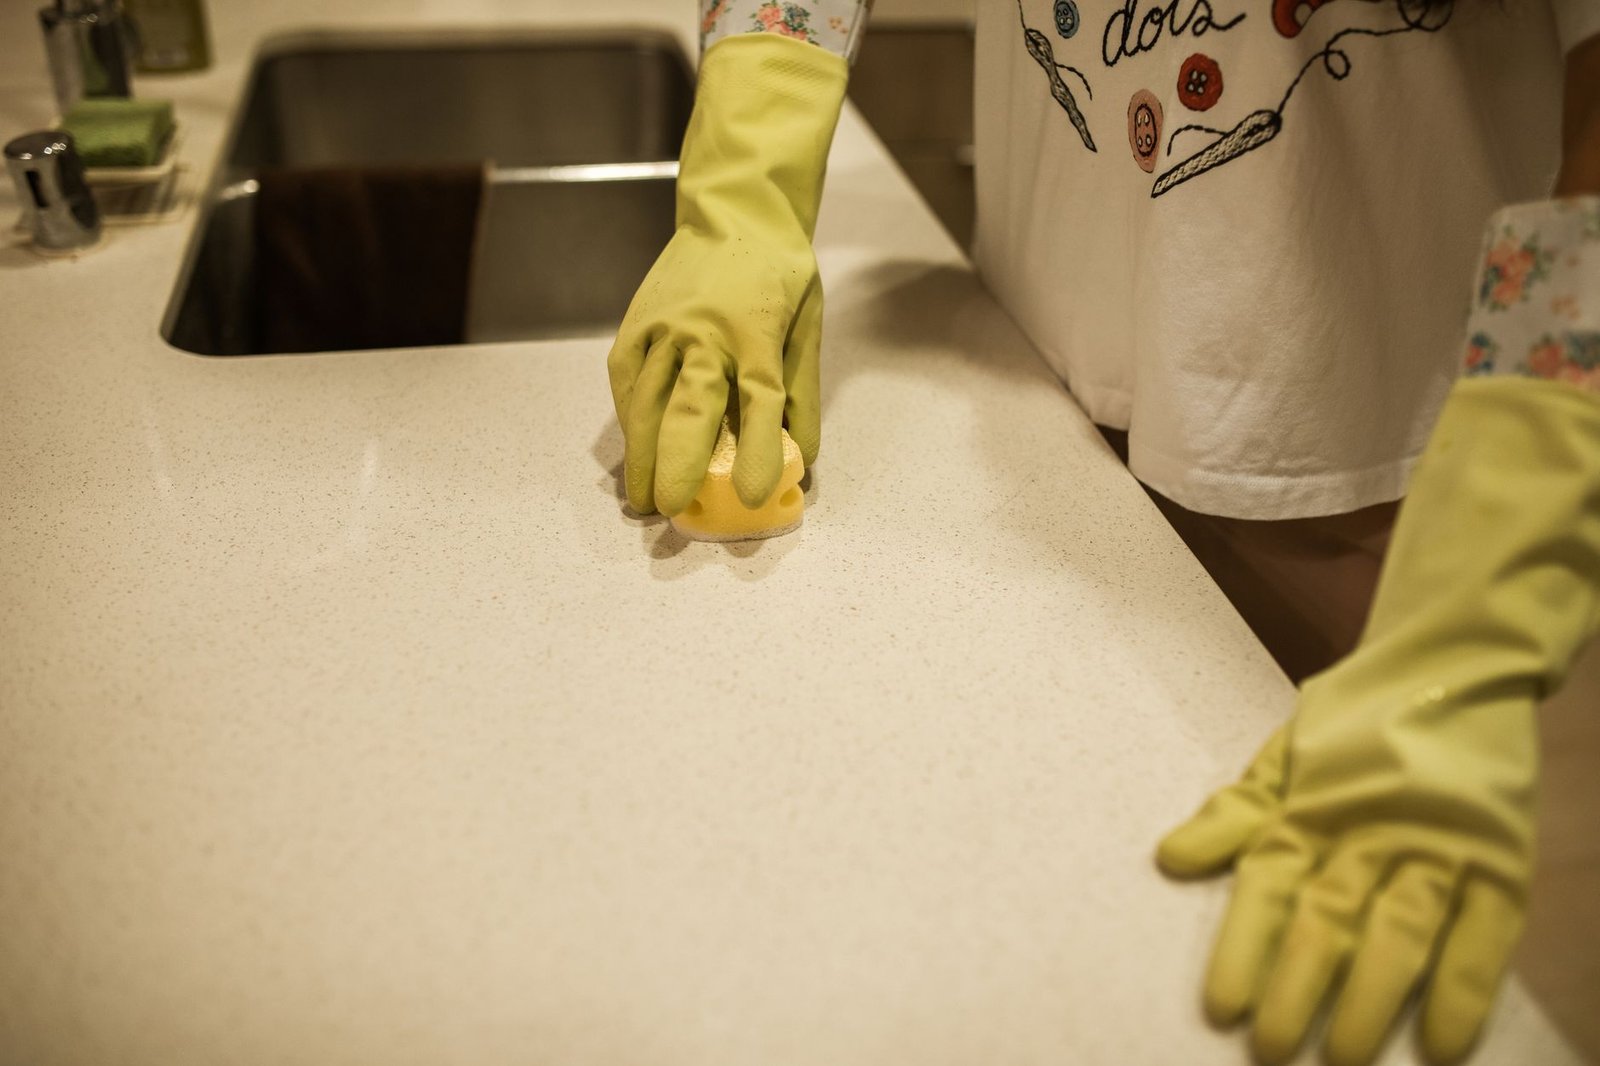
How to clean a countertop ice maker, step by step
This is the core routine. It works for the vast majority of countertop and nugget machines — but if your manual says something different, the manual wins. I’ve added an honest verdict after each step so you know which ones people skip and regret.
Step 1: Unplug and empty everything
Turn the machine off, unplug it, and dump any ice and leftover water. Remove the ice basket, scoop, and any other detachable parts. Never start cleaning a plugged-in ice maker. Verdict: non-negotiable — skip it and you risk both a shock and a bad clean.
Step 2: Hand-wash the removable parts
Wash the basket and scoop in warm water with a little mild dish soap, rinse well, and set them aside to dry. These are the parts your ice actually touches, so don’t rush them. Verdict: quick and easy, and the part most people forget entirely.
Step 3: Make and add the descaling solution
Mix equal parts distilled white vinegar and water — a true 1:1 ratio — and pour it into the reservoir up to the fill line. For lighter, routine maintenance you can drop to a 1:10 vinegar-to-water mix, but for a real descale, go 1:1. Verdict: the ratio matters; too weak and the scale laughs at you. [ADD YOUR EXPERIENCE: note how much solution your specific model’s reservoir holds.]
Step 4: Run a cleaning cycle
Plug the machine back in and run a cleaning cycle. Many models have a dedicated “Clean” button — on the GE Opal, for example, you hold it for three seconds and the cycle runs about three minutes. No clean button? Just run a normal ice-making cycle with the solution in place, then stop it and let the solution sit in the reservoir for 15 to 20 minutes to break down the scale. Verdict: this is the step doing the heavy lifting — don’t cut the soak short.
Step 5: Scrub the crevices
Dip your brush or toothbrush in the vinegar solution and work it into the corners, around the water line, and anywhere you see film or discoloration. Wipe the interior walls with your microfiber cloth. Don’t force the brush into moving parts or sensors. Verdict: tedious but this is where hidden gunk lives.
Step 6: Drain, then rinse — properly
Drain the vinegar solution completely. Now refill with plain filtered water and run at least two or three full rinse cycles, draining between each. This is the step everyone underestimates. Vinegar clings, and if you don’t flush it out, your first few batches of ice will taste sour. Verdict: the most-skipped, most-regretted step — do it two or three times, not once.
Step 7: Sanitize (optional but smart)
For a deeper clean, wipe the bare, descaled surfaces with a food-safe sanitizer or a light 1:10 vinegar-water solution, then rinse once more. If you’ve had visible mold, this is where you treat it (see the bleach note below). Verdict: worth it every few cleans, essential if you’ve seen slime.
Step 8: Dry with the lid open
Wipe everything down and — this is the secret to keeping it clean — leave the lid open so the interior air-dries fully before you close it up. Trapped moisture is exactly what grows the mold you just removed. Verdict: costs nothing, prevents the whole problem from coming back. [ADD YOUR EXPERIENCE: mention whether your model traps water anywhere that’s hard to dry.]
What no one else tells you about ice maker cleaning
Every cleaning guide gives you the vinegar routine. Here’s what they leave out — and honestly, it matters more than the routine itself.
First: the water you put in matters more than how often you clean. If you fill your machine with hard tap water, you’re depositing new scale every single day, and no cleaning schedule fully keeps up. Switch to filtered or distilled water and you cut your scale problem by most of it — you’ll clean less often and the machine will last longer. People obsess over the perfect vinegar ratio while pouring the actual problem straight into the reservoir. Fix the input first.
Second: “run a cleaning cycle” is not the same as cleaning. Pushing vinegar through the pump doesn’t scrub the reservoir walls, and it definitely doesn’t dry the machine afterward. The cycle handles the tubing; your cloth, your brush, and the open-lid dry handle the mold. A machine that only ever gets a cleaning cycle will still grow slime.
Third — the big one — do not reach for bleach as your default. Bleach shows up in a lot of advice, but it’s the wrong first tool. It can corrode stainless steel and metal evaporator components, some manufacturers explicitly tell you not to put it in the reservoir, and it must never mix with the vinegar you were just using — that combination makes toxic chlorine gas. Bleach has exactly one job here: treating active mold, heavily diluted (roughly a 1:10 solution), on parts that tolerate it, followed by a very thorough rinse. For routine cleaning, vinegar or citric acid does everything you need without the risk. Most people who “clean with bleach” are quietly shortening their machine’s life.

Vinegar vs citric acid vs commercial cleaner vs bleach
The descaler you choose changes how easy the job is and how long the rinse takes. Here’s the honest comparison.
| Cleaner | Best for | Upside | Downside |
|---|---|---|---|
| White vinegar | Light to moderate scale, routine cleans | Cheap, always on hand, food-safe | Lingering smell; needs 2–3 rinses and 1–2 discarded ice batches |
| Citric acid | Heavy or recurring scale, frequent use | Faster, little odor, rinses out quickly, fewer cycles | Have to buy it as a separate powder |
| Manufacturer cleaner | People who want zero guesswork | Formulated for the machine; keeps warranty happy | Most expensive; another thing to keep stocked |
| Diluted bleach | Treating active mold only | Kills mold and bacteria fast | Corrodes metal; banned in some reservoirs; never mix with vinegar |
If you’re shopping for a machine that’s easier to keep clean in the first place, our EUHOMY countertop ice maker review and our roundup of the best countertop ice makers under $100 both flag which models have self-clean cycles and easy-drain reservoirs. The newer EUHOMY Ice Leopard X1 is a good example of a design that makes descaling far less of a chore.
Who should clean often, and who can relax
Clean aggressively if you use the machine daily, run it with hard tap water, keep it somewhere warm, or make ice for drinks other people consume. Every 2 to 3 weeks is not overkill for you.
You can relax if you use filtered or distilled water, run the machine occasionally, and empty and dry it between uses. A full descale every couple of months is plenty.
Clean immediately, no matter your schedule, if you notice cloudy or soft ice, slow ice production, an off smell or taste, or any visible pink or black slime. Those are the machine telling you it’s overdue.
The honest limits of cleaning
Cleaning fixes taste, smell, and scale. It does not fix a dying pump, a failed compressor, or a machine that was cheap junk to begin with. If you descale and sanitize properly and your ice is still cloudy, slow, or foul, the problem is mechanical, not hygiene — and at the price of most countertop units, replacement often makes more sense than repair. Cleaning also can’t undo neglect overnight; a machine that’s grown heavy mold may need two or three full cleans, and if the mold is deep in sealed tubing you can’t reach, it may never fully come back. Keeping up with the schedule is far easier than rescuing a machine you let go.
The verdict, in one line: Descale with vinegar, sanitize the surfaces, rinse three times, dry with the lid open — and use filtered water so you have to do it half as often.
Frequently asked questions
How do I clean a countertop ice maker?
Unplug it and empty the water, wash the removable parts with mild dish soap, fill the reservoir with a 1:1 mix of white vinegar and water and run a cleaning cycle, scrub the crevices with a soft brush, drain, then run two or three plain-water rinse cycles. Dry it with the lid open before using it again.
Can I use vinegar to clean my ice maker?
Yes. Distilled white vinegar mixed 1:1 with water is the standard descaling solution and it’s food-safe. The only catch is that vinegar leaves a smell, so you need to rinse two or three times and discard the first batch or two of ice afterward.
Is citric acid better than vinegar for descaling?
For heavy or recurring mineral scale, yes — citric acid works faster, leaves almost no odor, and rinses out more easily. Vinegar is better for routine, light cleaning because it’s cheap and always on hand. Many people keep both.
How often should I clean my countertop ice maker?
Every 3 to 6 months for normal use, but every 6 to 8 weeks (sometimes every 2 to 3 weeks) if you use hard tap water or run the machine daily. Wipe the reservoir and empty leftover water weekly regardless.
Can I use bleach to clean an ice maker?
Only for treating active mold, heavily diluted (about 1:10), on parts that tolerate it, followed by a thorough rinse. Don’t use bleach as a routine cleaner — it can corrode metal parts, some manufacturers forbid it in the reservoir, and it must never be mixed with vinegar.
Why is my ice maker making cloudy or bad-tasting ice?
Cloudy ice and off tastes are classic signs of mineral scale and possibly mold buildup. Run a full descale and sanitize, switch to filtered water, and the problem usually clears. If it persists after a proper clean, the issue is likely mechanical.
Do I need to unplug the ice maker before cleaning it?
Yes, always. Unplug it and empty all water and ice before you start. Never clean a plugged-in machine, and never fully submerge the unit in water.
How do I get rid of mold in my ice maker?
Descale first to strip the scale, then treat the visible mold with a heavily diluted bleach or food-safe sanitizer solution on tolerant parts, scrub it away, and rinse thoroughly two or three times. Then dry with the lid open. Heavy mold may take two or three cleans to fully clear.
Can I put the ice basket in the dishwasher?
Check your manual — some baskets are dishwasher-safe on the top rack, but many are not. When in doubt, hand-wash with mild dish soap and warm water, which is gentle and always safe.
Will filtered water really reduce cleaning?
Yes, noticeably. Hard tap water deposits new scale every day. Filtered or distilled water carries far fewer minerals, so scale builds much more slowly and you can go longer between descales.
Bottom line
Cleaning a countertop ice maker isn’t hard — it’s just easy to do halfway. Descale with vinegar or citric acid, actually scrub the surfaces, sanitize when you’ve seen slime, rinse two or three times, and always dry with the lid open. Then do the one thing most guides bury: use filtered water, so scale builds slowly and you clean half as often. Get those right and your machine will keep turning out clear, clean-tasting ice for years.
About the author — Naveen Kumar Durai
I test and research home and kitchen gadgets and write the plain-English care guides I wish came in the box. No fluff, no filler — just what actually keeps your appliances running. See how we work on our How We Review page.

